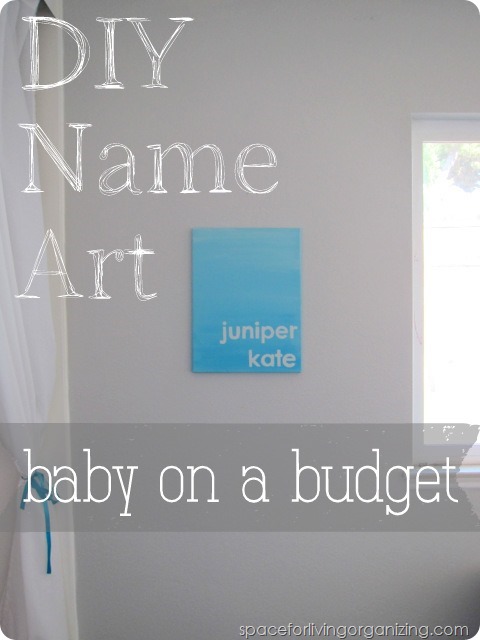
I’ve been sharing all the ways I saved money while putting together the baby’s room. From painting a used crib to repurposing items I had around house; I tried to get creative to keep the costs down. Here are two simple DIY art projects to brighten up your baby’s space!
First, I wanted to find a way to bring in color above the changing table. We spend plenty of time changing diapers galore, so something visually stimulating would brighten up and entertain in this small space.
As soon as I saw the pinwheels Kelly from View Along the Way made for her daughter’s nursery, I was smitten and knew they would be perfect above my changing table too.
I bought a $5 pack of double sided scrapbook paper and crafted away. I followed View Along the Way’s tutorial to a “T” so I won’t bother you with the details here. Be sure to check out her blog for the step-by-step.
I only strayed from the tutorial at the end when I didn’t bother to hole-punch the center. Instead, I just used clear thumb tacks to pin them to the wall.
As soon as she was out of her newborn stupor, my little June bug took to the pinwheels right away. I was surprised at just how much they enchanted her!
Not only are these pinwheels enthralling to little ones, they are also super easy to make. Believe me, it’s the perfect project for those last few days of pregnancy when you are just waiting for your little one’s arrival. Those last days you are so antsy to meet that new baby, but you are too big to do much of anything.
After my pinwheel adventure, I decided to find a way to incorporate June’s name somewhere into the mix. I found inspiration from the name art created by Young House Love for their daughter’s room.
See the personalized square above the coo-coo clock? Adorable!
I got started by gathering all of my materials.
- a blank canvas
- left-over tester paint from painting the crib
- a printout of Juniper’s name
I mixed the teal paint with some leftover gray wall paint to give the canvas some dimension. I was going for an ombre effect that doesn’t really come across in this picture.
After painting the canvas, I was ready for the lettering. I know many could paint the name freehand, but since I am not known for my steady hand or artistic abilities, I decided to transfer the letters. I followed a few tutorials I’d seen around the web on how to transfer fonts.
The first step is to turn the paper over and shade in the mirror image of the letters with pencil. It was easy to see through the paper to trace the letters, since the print is so bold. You could also use chalk if transferring to a more variegated surface like wood.
Next place the paper right side up where you want your letters to appear on the canvas. Trace over each letter being sure to press hard so the pencil will transfer on to the canvas.
Once you are done tracing the letters you should have a very light pencil outline of your lettering.
With the outline in place, the next step is as simple as painting between the lines.

When all was said and done, there were no signs of pencil marks left, even with my light paint.
I love how it turned out, especially because it was so simple. It took an afternoon and most of that time was spent waiting for the paint to dry.
I can already imagine us going through the letters in her name each night as we tuck her in.
If you are looking for even more ideas for DIY art to make your own, here is a fun collection iVillage put together for inspiration. Happy creating!


Hi Autumn, I must say, I loved your ideas and application of your creativity here. I will definitely try the method for name art. Thank you so much 🙂
I loved to see what you come up with if you try the name art. Please share!