Thank you for the birthday wishes and for letting me indulge in my little birthday break. After a bit of celebrating, I was ready to conquer some cord clutter! I have been meaning to resolve this issue since this previous 10 Minute Tuesday Project.
Although there are many options to wrangle pesky cords, my favorite solution is to simply banish this visual clutter out of sight. And a drawer is a perfect place to hide a charging station! Here are my super simple steps for converting a drawer into a cord clutter hideaway.
Step 1
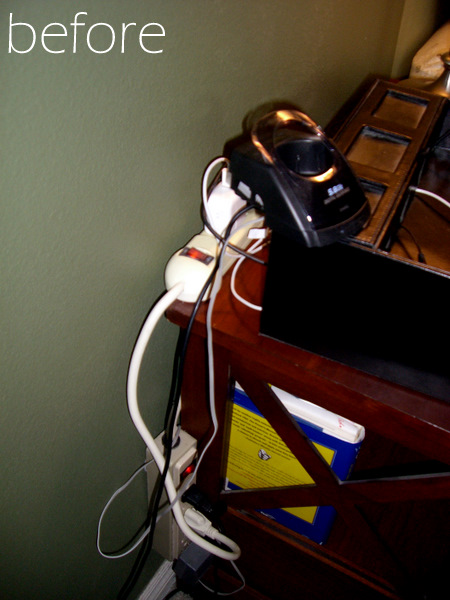
Grab the whole mess of cords on your husband’s bedside table (the ones you’ve been meaning to deal with for oh, I don’t know, 9 months or so).
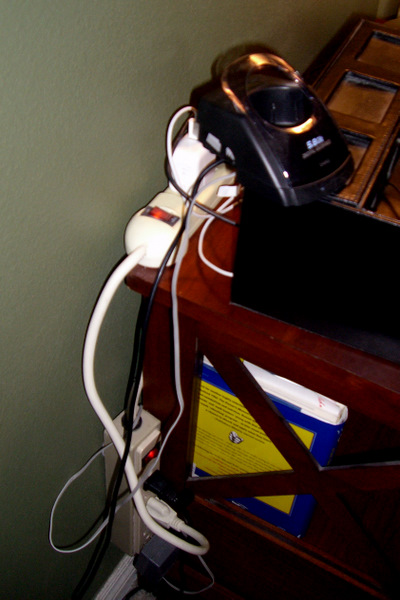
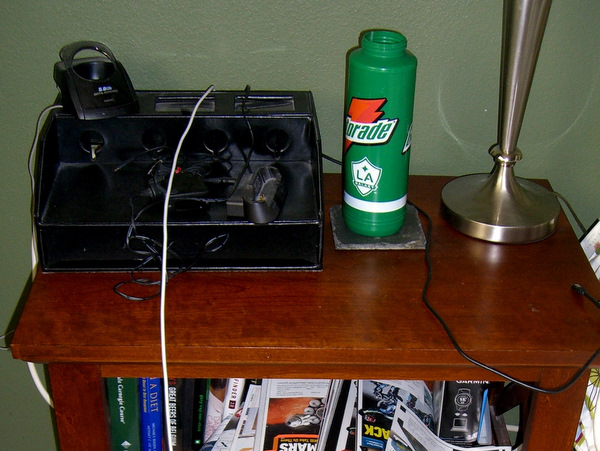
Remove the power strip from its original charging station. You may not be able to find the charging station at first since it is buried beneath a tangle of wires and phone accessories. But who can blame my hubby- it was a total pain to add or remove any plug or thread cords through the hole so it was just destined to become a catch-all.
Step 2
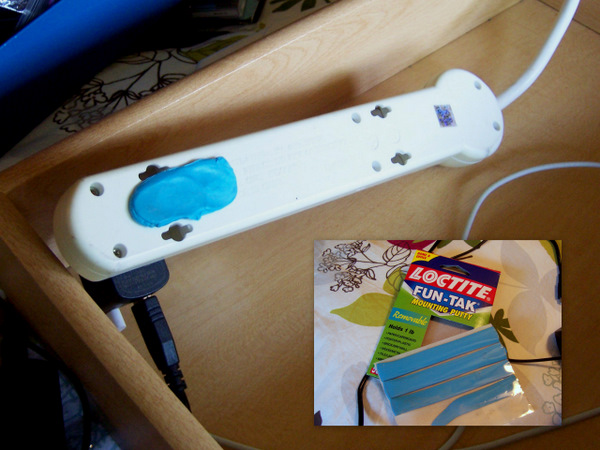
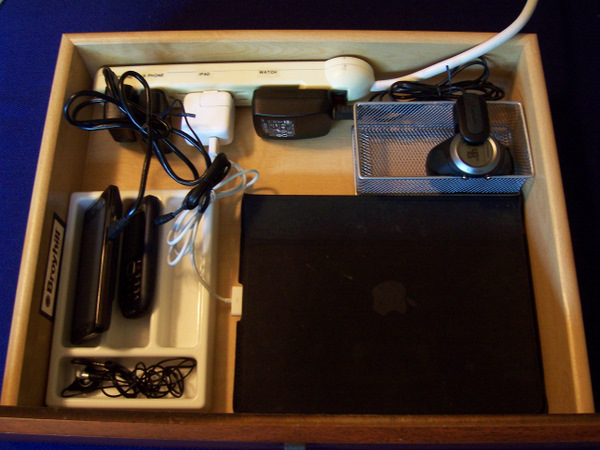
Use mounting putty (or your favorite adhesive, like Velcro) to firmly attach the power strip to the back of the drawer.
Step 3
Plug in gadgets and tie up the extra cord slack.
Step 4
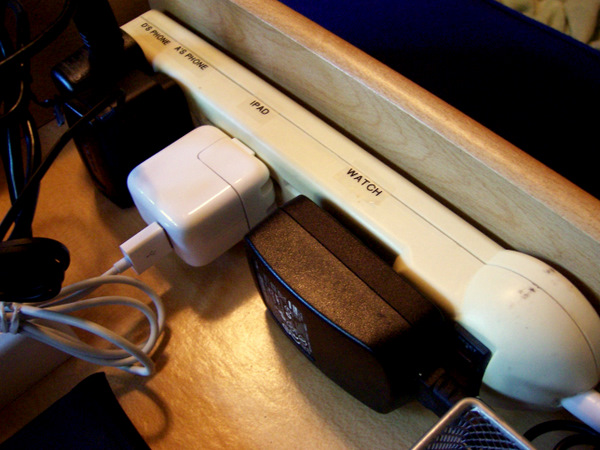
Label power strip with gadget’s name so you don’t forgot how all of the oddly shaped plugs fit together.
Step 5
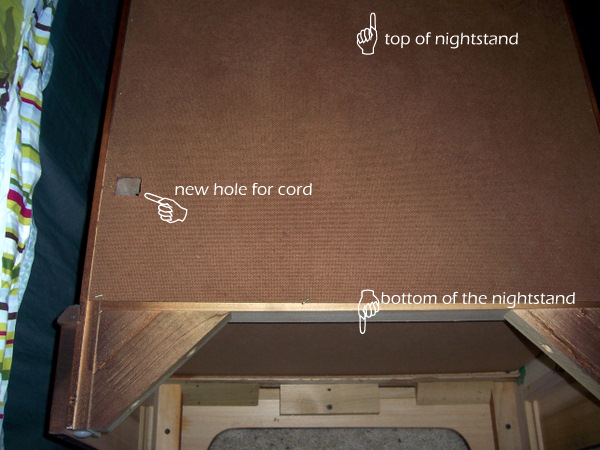
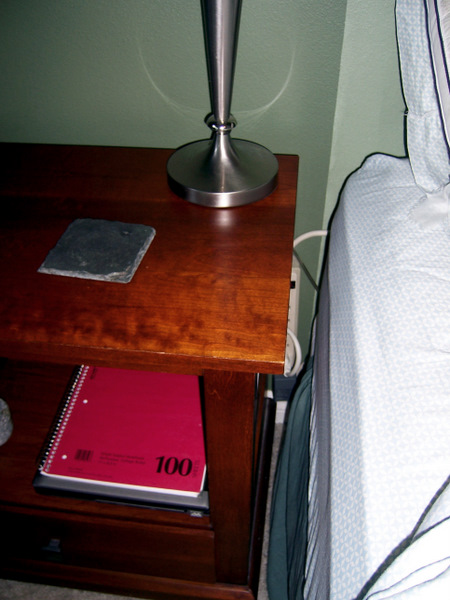
Cut hole in the back of your bedside table just large enough to fit the power strip plug. “Thread” the power strip plug through the hole. Use metal skewer and rubber band as a needle if needed. (I wish I had taken a picture of my hubs crazy threading contraption). Replace drawer.
Step 6
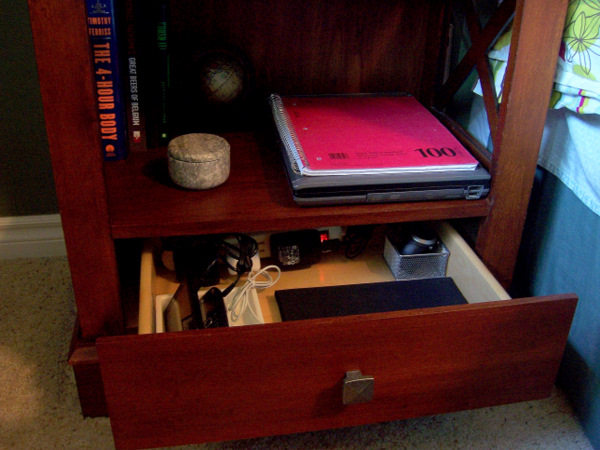
Step back and admire your organized charging drawer.
Step 7
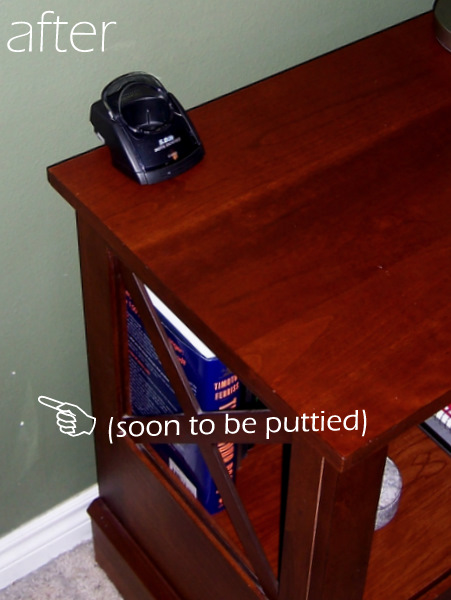
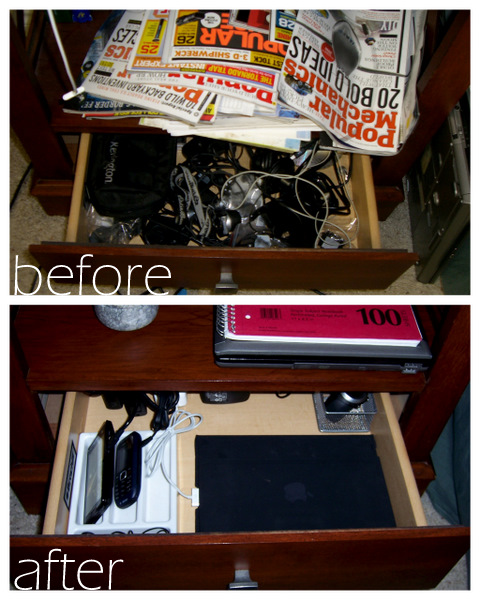
Admire before picture and all of the cords now whipped into shape and hidden by your new charging drawer.
The second power strip was moved to the other side of the table (you can see the remaining nail holes in the picture above). It is still accessible so we can plug in other items if needed or to access the on/off switch.
Step 8
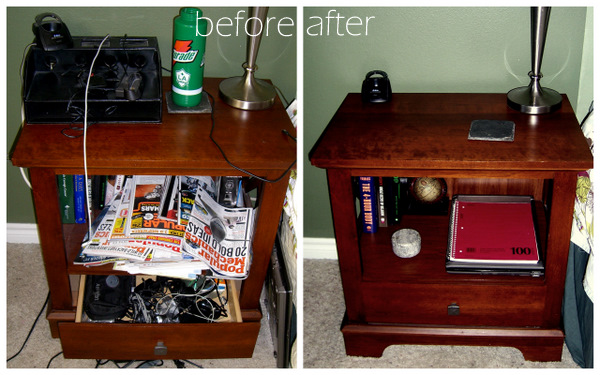
Look at a few more before and after pics just for the fun of it.
In case you missed the original nightstand project, I had originally organized the seldom used cords in the drawer. For today’s project I needed to make room for the new charging station, so I moved them to the tool area for storage with other electrical supplies. This drawer was a prime storage area and I needed to make it more functional. Don’t worry, the before and after picture helps to explain the switch.
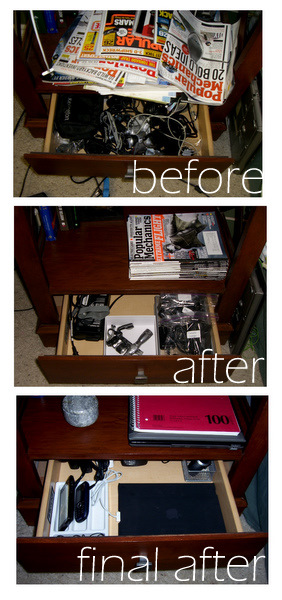 Where is your charging station? Did you find an item to re-purpose as a charging station or did you buy a handy station at the store? Do you use a drawer too? Are you addicted to before and after pictures like me? Do tell.
Linking up with iheart organizing

I use a basket that I created a top for out of cardboard & fabric. All the cords are stored underneath the cardboard top. I love how all the cords are hidden when not in use, makes the kitchen less visually cluttered.
How creative and easy! Thanks so much for sharing your solution.
Oh I’m soooo doing this to my husband’s night stand! Thanks so much for the inspiration and idea. Thank you also for your sweet comments on my green chair re-do.
Mandy
Awesome, please share on your blog when you’re done. I’d love to see it!
looks great & super functional = WELL DONE!!
Oh wow! So super smart! Cords drive me insane and you have really shown us a great solution to organizing them and hiding them!
xoxo,
Jen
Thanks Jen. I am glad I am not the only one who finds cords to be such a pain!